tmux Config: Understanding the Configuration File + Customization Examples

tmux is a popular terminal multiplexer that lets you run multiple sessions inside a single window. What is more, users can easily switch between these sessions, detaching or reattaching them.
Besides features that tmux offers by default, you can customize it further to suit your projects.
In this tutorial, we’ll explain how exactly you can benefit from customizing tmux and review its config options.
Download comprehensive tmux cheat sheet
tmux Config File
You can configure the tmux environment with the help of a system configuration file. To use it, log in to your hosted virtual server via SSH and create the tmux.conf file. You can do so via PuTTY SSH. Then, add the preferred configuration commands to it.
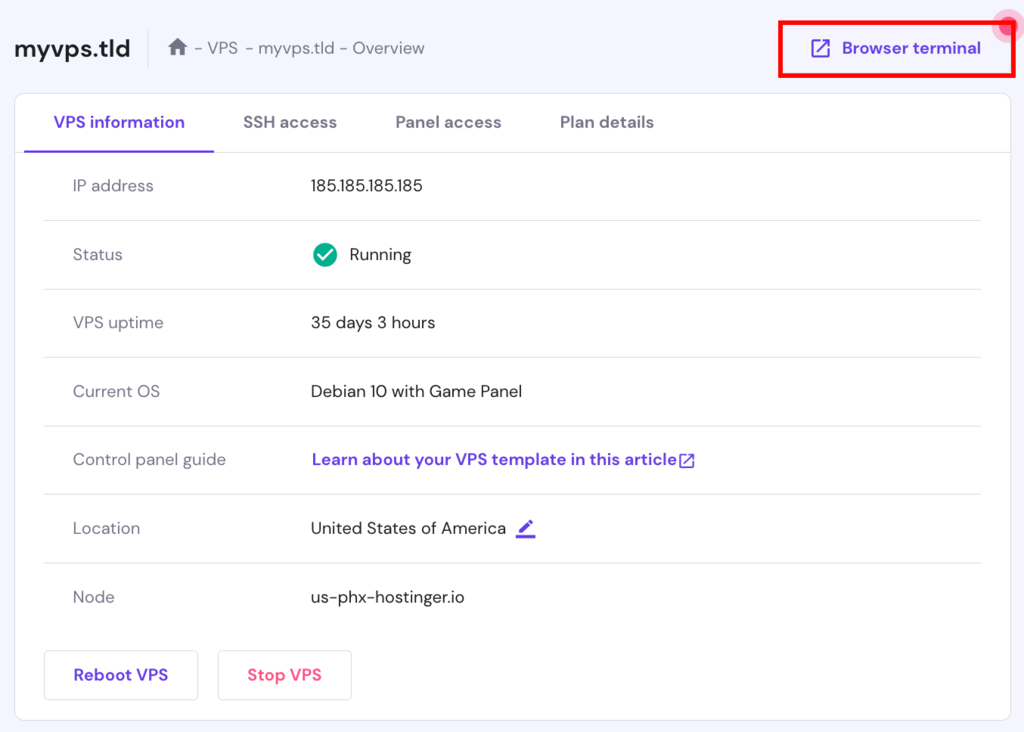
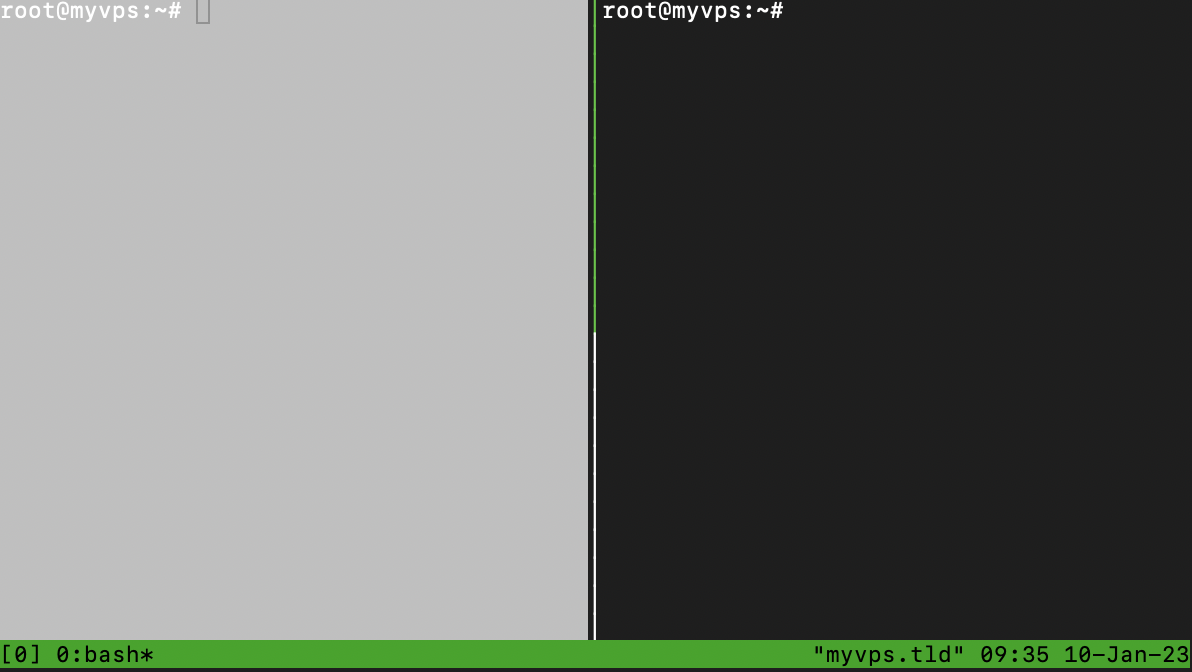
Alternatively, you can easily connect to SSH via our browser-based terminal, eliminating the need for additional software:
Note that configuration can be either global or local, depending on the file’s location. If you need a local configuration file, create it in the home directory using the Linux touch command:
touch ~/.tmux.conf
On the other hand, if you want to make a global tmux configuration file, place it in the /etc directory:
touch /etc/tmux.conf
Now, add the preferred configuration to the tmux.conf file. After that, save the file and exit the text editor. The changes will take effect the next time you launch tmux.
tmux Configuration Options
tmux has several key bindings and functions that may not suit all users. By configuring tmux, you can customize key bindings and different functions to align with your workflow and preferences.
In addition to key bindings and options, you can change your tmux terminal’s appearance. For example, customize its color scheme or set a background color.
Lastly, users can set up custom scripts or commands to run when tmux starts. This can be useful for personal development environments, helping you automate certain tasks and ensuring you won’t lose any work.
Let’s take a deeper look at the three main configuration categories:
Server and Session Options
You should set server options when starting the tmux server, as they affect all sessions. Examples of server options include:
- Default terminal type
- Maximum number of sessions
- Location of the socket for connecting to the tmux server
Use the set-option -s command to apply server options.
Meanwhile, session options affect the behavior of a particular session. Some of the most common session options are:
- Name of the sessions
- Initial working directory
- Default window layout
To set session options, opt for the set-option command.
Suggested Reading
VPS Hosting: Everything You Need to Know About Virtual Private Servers
15 VPS Security Tips to Prevent Attacks on Your Server
User Options
With tmux, users can set custom settings, which can modify the pane, window, session, or server options. Keep in mind that all user options are strings and must be prefixed with the @ symbol. Additionally, user options can store custom values from scripts.
Window and Pane Options
tmux provides many configuration options that allow users to customize the appearance of its windows and panes. What’s more, pane options can be inherited from the window options. As a result, users can set any pane option as a window option, and tmux will apply the configuration to all panes.
tmux Configuration Examples
Let’s look at some of the most popular tmux configuration examples.
Change the Default Prefix
One of the most important configuration options of tmux is the prefix. The default prefix key binding is Ctrl + B. To send a command to tmux, users need to press Ctrl + B, and then the wanted command.
The prefix key is easily configurable. In this example, we will change the prefix from Ctrl + B to Ctrl + A. To do this, open the tmux configuration file with the preferred text editor:
sudo nano ~/tmux.conf
Then paste the following code:
# Change prefix from 'Ctrl+B' to 'Ctrl+A'
unbind C-b
set-option -g prefix C-a
bind-key C-a send-prefix
Save the changes and start a new tmux session.
Use the Mouse Mode
The mouse mode lets users use their mouse to interact with tmux windows and panes. Once it is enabled, users can resize windows and panes and scroll through the output of tmux sessions.
Keep in mind that mouse support is disabled by default. To enable it, open the configuration file:
sudo nano ~/.tmux.conf
Then paste this code and save the changes:
# Enable mouse mode
set -g mouse on
Set Two Prefixes
It’s possible to have multiple prefix keys in tmux. This can be useful if you want to use a different prefix key in various contexts or have a secondary prefix key as a backup.
To illustrate, we will enable Ctrl + A and Ctrl + B prefixes. Open the configuration file and add the following tmux commands:
# Enable two prefixes
set-option -g prefix C-a
set-option -g prefix2 C-b
Change the Default Server Behavior
By default, the tmux server will exit when there are no active sessions. To prevent this, you can disable the exit-empty option with the following command:
#Disable exit-empty
set -s exit-empty off
Start Counting Window and Pane Numbers (Base-Index) At 1
When starting tmux, you will notice that both window and pane numbers start from zero, which can be inconvenient and confusing. Luckily, it’s possible to set the base index to start counting from one. Just add the following code to your tmux configuration file:
# Start counting pane and window number at 1
set -g base-index 1
setw -g pane-base-index 1
Turn off Automatic Renaming Globally
Automatic renaming will rename a tmux window using the format specified by the automatic-rename-format option. To turn off automatic renaming globally in tmux, add the following line to the global configuration file:
# Disable automatic renaming
set-option -wg automatic-rename off
Save the changes and start a new tmux session.
Make the Current Pane’s Background White
Use the command below to set the background color of the current pane to white:
# Change the background color to white
set -g window-active-style bg=white
It’s also possible to adjust the pane colors with the following code:
# Change pane colors
set -g pane-active-border fg=red
set -ag pane-active-border bg=magenta

How to Configure tmux to Allow Copy-Paste Between System and tmux Clipboards
By default, tmux uses its clipboard for copying and pasting text within a session. It means that users cannot paste text copied from tmux to an outside window.
However, it’s possible to configure tmux to allow copy-paste between the system clipboard and tmux clipboard. To do so, consider installing xclip, which enables the communication between the tmux and system clipboards.
Here are the steps to configure tmux to allow copy-paste:
1. Install xclip:
sudo apt-get install xclip
2. Add the following lines to your tmux configuration file:
# Use xclip to copy and paste with the system clipboard
bind C-c run "tmux save-buffer - | xclip -i -sel clip"
bind C-v run "tmux set-buffer $(xclip -o -sel clip); tmux paste-buffer"
This configuration uses C-c to copy the selected text to the system clipboard and C-v to paste from the system clipboard into tmux.
3. Reload your tmux configuration with the following command:
tmux source-file ~/.tmux.conf
After these steps, you will be able to copy and paste text between tmux and the system clipboard. Whenever you press the prefix followed by Ctrl + C, xclip will capture the current tmux buffer. When you want to paste the content, press the prefix followed by Ctrl + V.

Conclusion
tmux is an excellent tool for any Unix-based server management. Combined with the right configuration options, users can expect to tailor their terminal to match even the highest standards.
In this tutorial, we’ve covered the main tmux configuration categories and provided some helpful configuration examples. Additionally, we’ve gone through the process of installing xclip, which enables copy-pasting data between the system and tmux clipboards.
If you have any questions or insights, leave them in the comment section below.
tmux Config FAQ
Check out these most frequently asked questions about tmux configuration.
Where Is the tmux Config File?
The tmux configuration file is usually located at ~/.tmux.conf. This file contains a set of commands executed whenever tmux starts up, allowing users to customize it. If the ~/.tmux.conf file doesn’t exist, create it by running the touch ~/.tmux.conf command. It will create an empty configuration file that users can edit.
What Is SETW in tmux?
SETW or set-window-option is used to configure various new window options such as mode-keys, synchronize-panes, allow-rename, and main-pane-height.
How to Find a tmux Prefix?
In tmux, the prefix is the combination of keys you press before issuing a command. The default prefix is Ctrl + B, but it can be customized to be any combination. To find out what the current prefix is, try pressing Ctrl + B. If it doesn’t work, open the tmux.conf file and look for the set-option -g prefix line.

Ignas takes great satisfaction in helping people tackle even the most complex technical issues. His current goal is to write easy-to-follow articles so that these issues will not happen at all. During his free time, Ignas likes to play video games and fix up things around his house.