How to Install Jenkins on Ubuntu in 2024

Typically, software development presents its own set of challenges. One of them is ensuring that software is built, tested, and deployed in a timely manner and that any errors are fixed prior to the production phase.
Jenkins is an open-source automation server for continuous integration (CI) and continuous delivery (CD) models. In other words, it creates, tests, and deploys software projects.
This tutorial will demonstrate two methods for installing Jenkins and any configuration that comes with it on Ubuntu 22.04.
A Brief Overview of Installing Jenkins on Ubuntu:
| Required Knowledge | Basic Ubuntu server management, SSH access, Java Development Kit |
| Privileges Required | Root or sudo user |
| Difficulty | Intermediate |
| Main Goal | Installing Jenkins for CI/CD, configuring Java and Ubuntu firewall |

What Is Jenkins Used For
To understand Jenkins, users must have an understanding of continuous integration (CI) and continuous delivery (CD) models and their purpose:
- Continuous integration (CI) – a practice of constantly merging development work with the main branch.
- Continuous delivery (CD) – a continual delivery of code to an environment once the code is ready to ship, applicable for both staging and production environments. The product is then delivered to quality assurance specialists or customers for review and inspection.
Developers regularly update their code using shared repositories, such as GitHub or Team Foundation Server (TFS), now known as Azure DevOps Server. Therefore, Jenkins is exceptionally helpful when it comes to daily builds.
As soon as a developer commits any change to the shared repository, Jenkins will immediately trigger a build and immediately notify users in case of an error, which is an example of continuous integration.
With Jenkins, users can also set post-build tests – unit tests, performance tests, and acceptance tests – in an automated manner. Whenever a successful build occurs, Jenkins performs these tests and generates a report, which is an example of continuous delivery.
Other than that, the main advantages of Jenkins are as follows:
- Ease of use – its user interface is simple, intuitive, and visually appealing.
- Great extensibility – Jenkins is highly flexible and easy to adapt to one’s preferences. There are thousands of open-source plugins available for the automation server, each with different functionalities and features.
- All-around support – users receive additional assistance for different version control systems, code quality metrics, build notifiers, and UI customization.
How to Install Jenkins on Ubuntu
Installing Jenkins is as easy as using the integrated APT package manager of Ubuntu. However, keep in mind that some requirements must be met for a VPS-based system before proceeding with the installation.

Prerequisites for Jenkins Installation
- Ubuntu server with 22.04 version and SSH access
- A non-root sudo user
- 256 MB of RAM and 1 GB of drive space for solo use. However, no less than 10 GB is recommended if Jenkins runs inside a Docker container
- 4+ GB of RAM and 50+ GB of drive space for group use
- Oracle JDK 8 or 11
- A web server running Apache or Nginx
1. Install Java Development Kit
Jenkins supports Java 8 and Java 11. However, in this tutorial, we will use Java Runtime Environment 11.
First, update the default Ubuntu packages lists for upgrades with the following command:
sudo apt-get update
Then, run the following command to install JDK 11:
sudo apt-get install openjdk-11-jdk
To test if Java has been installed successfully, run this command:
java -version
It should look something like this:

Sugested Reading
Check out our guide to learn how to install Java on Ubuntu.
2. Install Jenkins
Now, we will install Jenkins itself. Issue the following four commands in sequence to initiate the installation from the Jenkins repository:
curl -fsSL https://pkg.jenkins.io/debian-stable/jenkins.io.key | sudo tee \
  /usr/share/keyrings/jenkins-keyring.asc > /dev/null

echo deb [signed-by=/usr/share/keyrings/jenkins-keyring.asc] \
  https://pkg.jenkins.io/debian-stable binary/ | sudo tee \
  /etc/apt/sources.list.d/jenkins.list > /dev/null

sudo apt-get update

sudo apt-get install jenkins
Once that’s done, start the Jenkins service with the following command:
sudo systemctl start jenkins.service
To confirm its status, use:
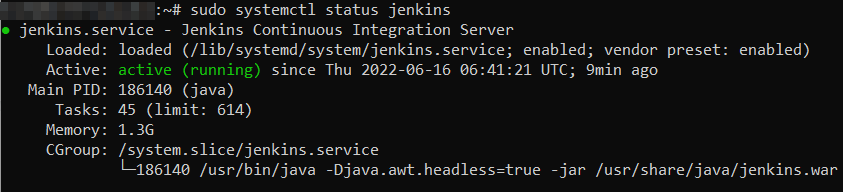
sudo systemctl status jenkins
If it’s working correctly, the terminal window will look like this:
3. Adjust Firewall and Configuring Jenkins
With Jenkins installed, we can proceed with adjusting the firewall settings. By default, Jenkins will run on port 8080.
In order to ensure that this port is accessible, we will need to configure the built-in Ubuntu firewall (ufw). To open the 8080 port and enable the firewall, use the following commands:
sudo ufw allow 8080
sudo ufw enable
Once done, test whether the firewall is active using this command:
sudo ufw status

Pro Tip
If an error about the ufw command not being available appears, install it using the sudo apt install ufw command and proceed with the steps as shown above.
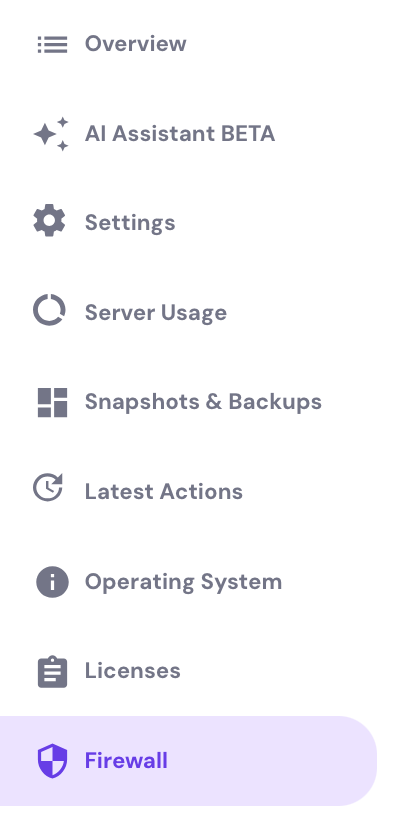
As an alternative, you can also set up a firewall via hPanel. Select your VPS and click on the Firewall button:
Then, create a new firewall configuration and give it a name. Once done, you will be able to edit the configuration and add any preferred firewall rules:
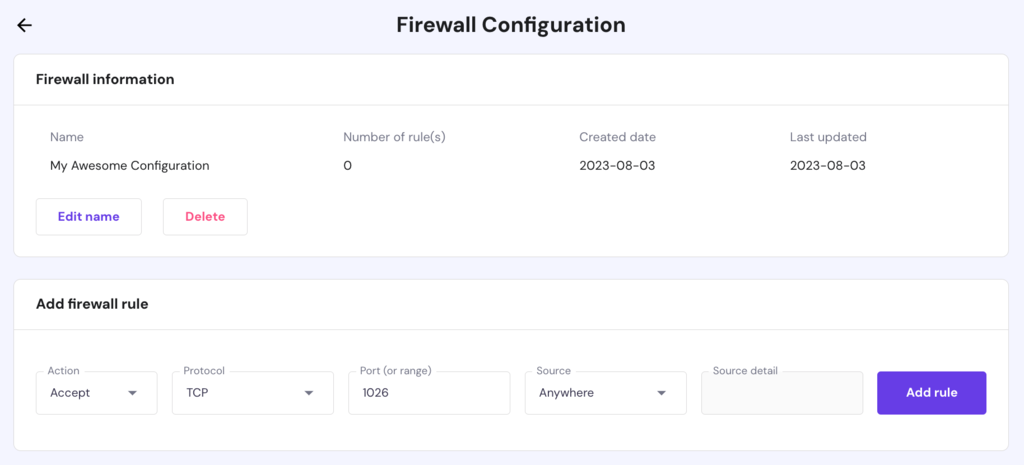
Changes will be applied in real-time.
With the firewall configured, it’s time to set up Jenkins itself. Type in the IP of your VPS along with the port number. The Jenkins setup wizard will be similar to the example below:
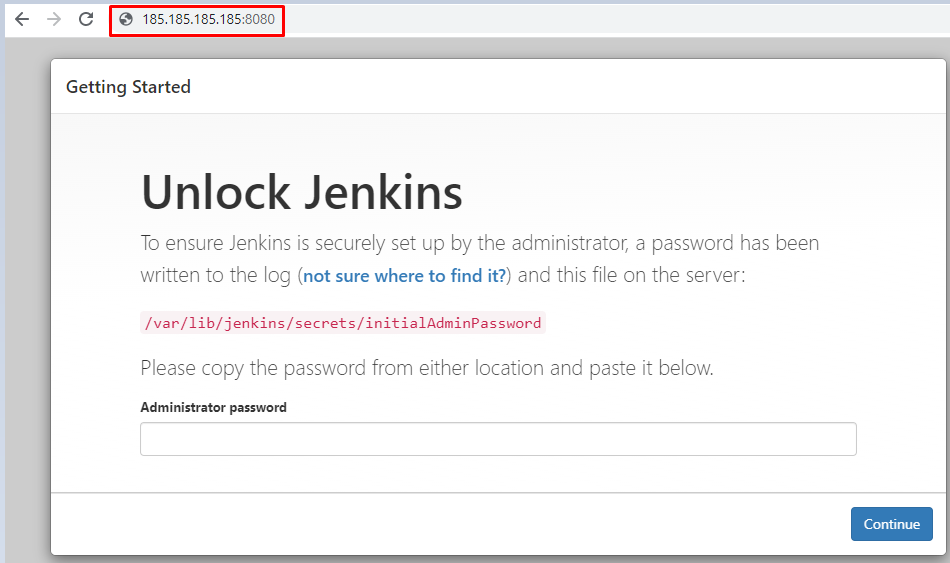
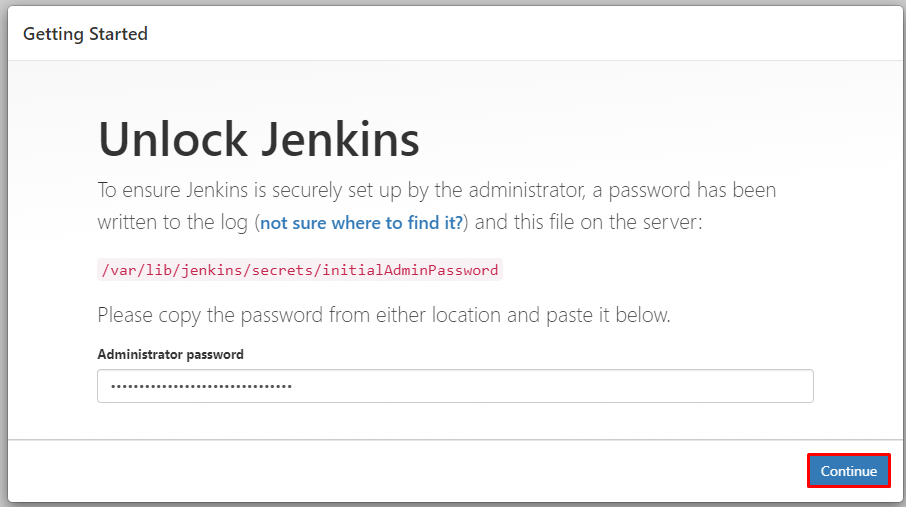
Just make sure to replace 185.185.185.185 with an actual IP. An administrator password will be needed to proceed with the configuration. It can be easily found inside the /var/lib/jenkins/secrets/initialAdminPassword file. To check the initial password, use the cat command as indicated below:
sudo cat /var/lib/jenkins/secrets/initialAdminPassword
Copy the password, go back to the setup wizard, paste it and click Continue.
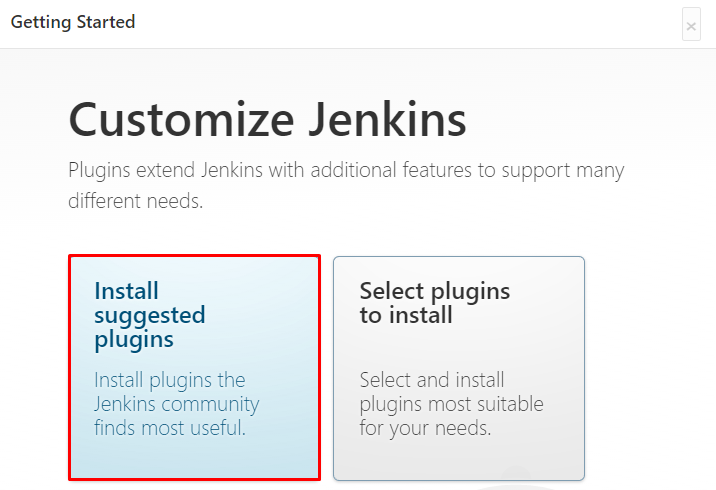
Next, the Customize Jenkins window will appear. We recommend simply selecting the Install suggested plugins option for this step.
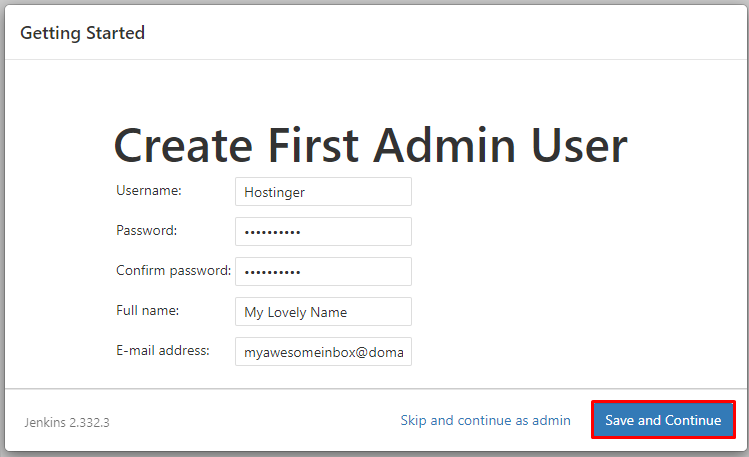
Give it a couple of minutes for the installation process to complete. Once it’s done, specify your username, password, full name, and email address, and click on Save and Continue to create an admin user.
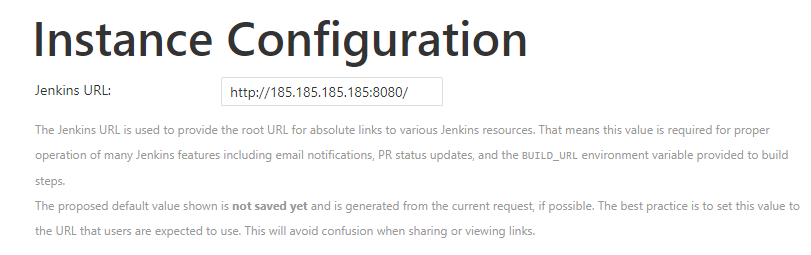
Then specify the preferred Jenkins URL and finish the configuration process.
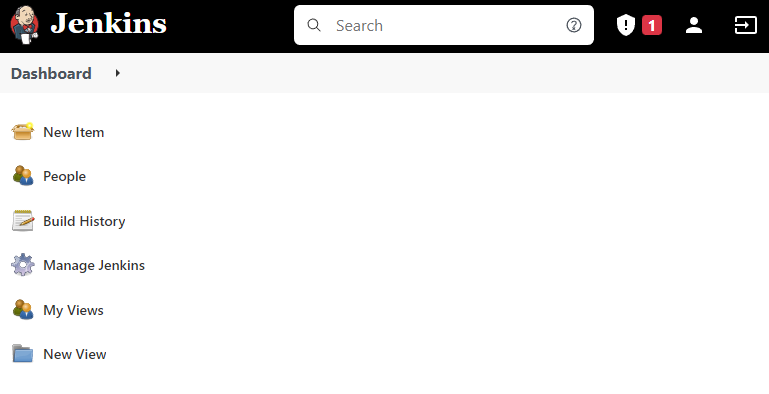
After configuration, the Jenkins dashboard will appear, meaning the Jenkins server installation and initial setup were successful.
Conclusion
Jenkins is a popular tool for automating software development. With its intuitive interface and flexible framework, users can deploy their applications to production environments much more quickly.
This tutorial demonstrated the installation and initial configuration of Jenkins on Ubuntu 22.04.
We hope you found this tutorial useful in learning about Jenkins installation. Please leave any questions or suggestions in the comments section below.

Ignas takes great satisfaction in helping people tackle even the most complex technical issues. His current goal is to write easy-to-follow articles so that these issues will not happen at all. During his free time, Ignas likes to play video games and fix up things around his house.

Comments
February 16 2020
Very Nice! Much Appreciated For Your Effort to Post this here!