How to Install Laravel on Ubuntu with Apache in 2024
There are many powerful PHP frameworks, but some of them have limitations when it comes to reading the application’s source code. This can be a problem if you want to document application code.
Fortunately, Laravel, when combined with Apache, provides an excellent solution. This PHP framework efficiently organizes and compresses the source code. In this tutorial, we’ll guide you through the full installation of Laravel with Apache on Ubuntu.
A Brief Overview of Installing Laravel on Ubuntu With Apache:
| Required Knowledge | Basic Ubuntu server management, PHP, Apache |
| Privileges Required | Root or sudo user privileges |
| Difficulty | Intermediate |
| Main Goal | Installing Laravel, configuring PHP and Apache |
| OS Compatibility | Ubuntu 22.04 or later |
What Is Laravel
Laravel is unsurprisingly one of the most popular PHP frameworks. It has many unique features that make it one of the best-rated options for web developers.
It also has great documentation and loves well-done source code, which translates into very expressive code syntax. Fast, efficient and user-friendly – Laravel. Here’s how you can install Laravel Ubuntu.
How to Install Laravel on Ubuntu
Before we start, you’ll need to SSH into your virtual private server. Here’s a helpful tutorial to help you along.
Following the steps below will walk you through the easiest way to install Laravel on Ubuntu:
1. Install Apache Web Server
For Laravel to work, you’ll need Apache. It is one of the most popular HTTP server tools, so it’s likely that your VPS has it installed. Luckily, you can check easily! Once you connect to your server using SSH, verify that an Apache system service exists. To do so, we have to run this command.
sudo systemctl status apache2
As you can see, on our VPS there is no Apache service, so we have to install it. To do this, execute the following command.
sudo apt install apache2
Ubuntu by default, starts the Apache service and makes it boot during system loading.
Now, if you’re using a firewall, it is necessary to establish a rule in the Ubuntu firewall so that Apache can run smoothly. If you have no firewall installed, feel free to skip this step.
sudo ufw allow “Apache Full”
After that, we can check the Apache service status again.
sudo systemctl status apache2

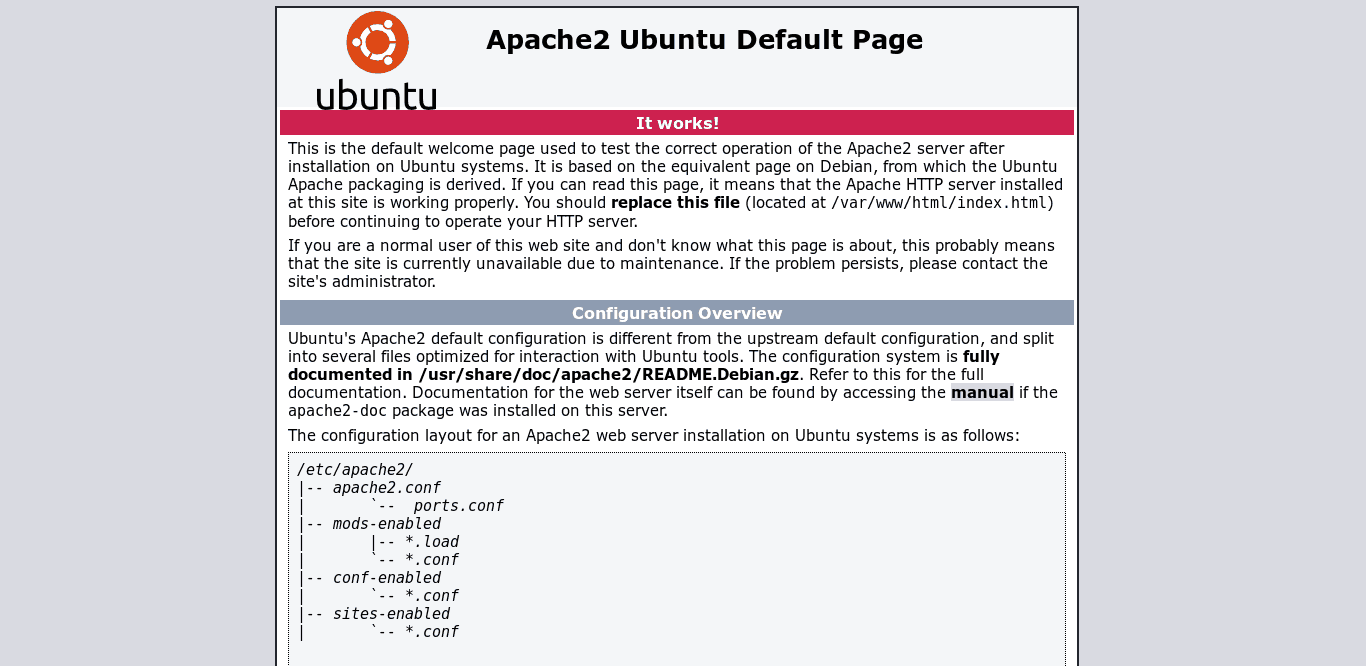
Finally, open a web browser and go to the IP address of your server or its domain name.
If you see this screen, that means Apache is up and running.
2. Install PHP
The next step is to install PHP. Fortunately, PHP 8 comes by default in Ubuntu’s official repositories, which makes the installation very easy. You will need to install the language itself and some extra module. To do this, execute the following command:
sudo apt install php libapache2-mod-php php-mbstring php-xmlrpc php-soap php-gd php-xml php-cli php-zip php-bcmath php-tokenizer php-json php-pear
If the following command produced an output saying some packages were not found, simply update your Ubuntu by running the following command, and rerun the previous one:
sudo apt-get update
Now, we can test if PHP is working correctly. To do this, we need to create a file in Apache’s root directory. Let’s call it test.php. Run the following command:
sudo nano /var/www/html/test.php
And add the call to the phpinfo function.
<?php
phpinfo();
?>
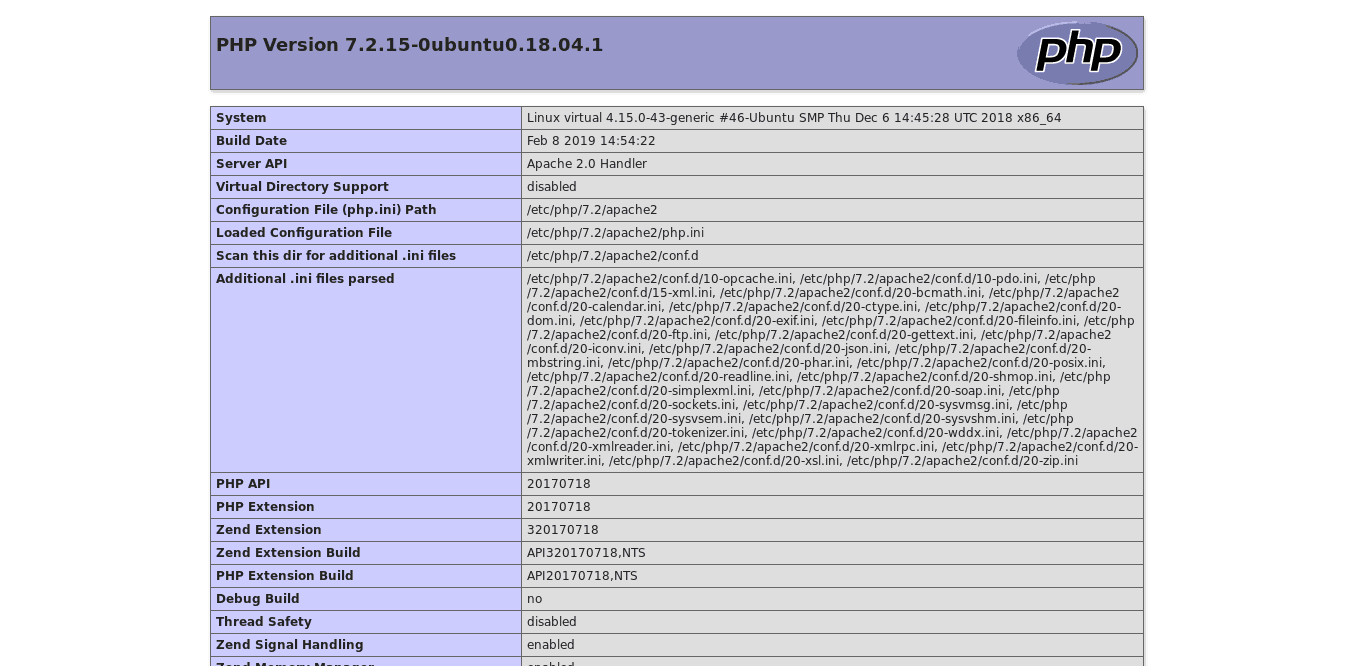
We have to save it and close it. To save, hit CTRL+O, and to exit, hit CTRL+X Then, open the web browser and go to http://Your-serverIP/test.php.
If you see this screen, you can be sure that PHP is working as it should.
3. Download and Install a Database Manager
If we are going to develop using Laravel in Ubuntu 22.04. To do so, it is necessary to install a database manager. Laravel supports PostgreSQL, MySQL, MariaDB, SQLite, and SQL servers. We can install and configure the one we want. For this tutorial, we will install MariaDB.
sudo apt install mariadb-server
After that, you can set a password for the root. To do this, you need to use the mysql_secure_installation script. Keep in mind that this step is optional but recommended for security reasons.
sudo mysql_secure_installation
After we define the root password, we will be asked several MariaDB configuration questions. The answers you should input are next to the lines of code:
Remove anonymous users? [Y/n] y
Disallow root login remotely? [Y/n] n
Remove test database and access to it? [Y/n] y
Reload privilege tables now? [Y/n] y
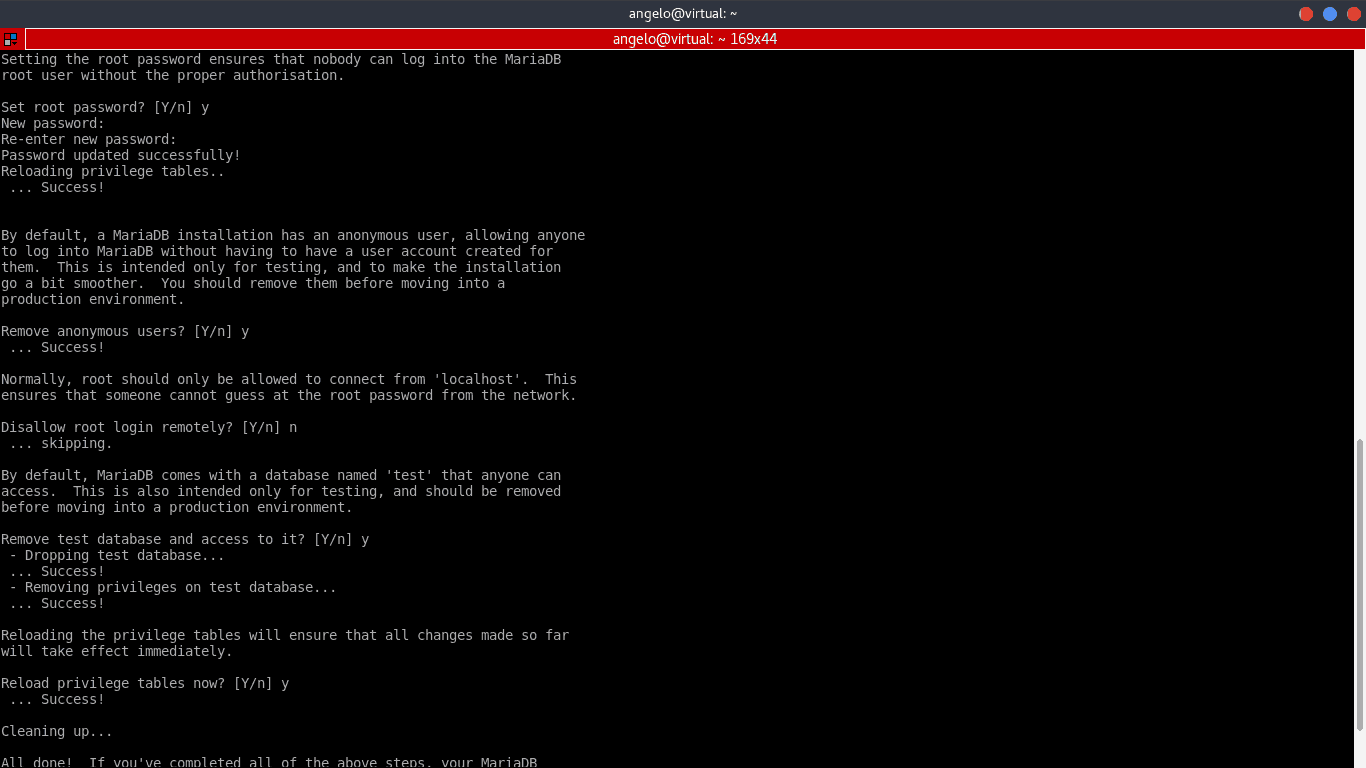
Congratulations, MariaDB was installed successfully.
If you prefer a NoSQL database management system, read our tutorial to learn about how to install MongoDB on Ubuntu.
4. Install Composer
Composer is a PHP dependency manager that facilitates the download of PHP libraries in our projects. Composer works great and makes it much easier to install Laravel.
First, we need to download Composer.
curl -sS https://getcomposer.org/installer | php
Next, we have to make sure Composer can be used globally and make it executable. The following commands will take care of that.
sudo mv composer.phar /usr/local/bin/composer
sudo chmod +x /usr/local/bin/composer
Suggested Reading
Check out our article to learn more how to change permissions and owners in Linux to control user access in your system.
5. Install Laravel on Ubuntu Using Composer
With Composer installed, now we can install Laravel. To do this, run the following command:
composer create-project --prefer-dist laravel/laravel [project_name]
Of course, we have to replace [project_name] with the name of your application. In this case, we name the project example.
Pro Tip
Explore our Laravel VPS hosting plans, which come with the Ubuntu 22.04 and Laravel template pre-installed for a quick launch.
How to Use Laravel for Local Development
To develop applications locally, we can use PHP serve and specify the host and port of our server. To do this, execute the following commands and replace [IP] with your server IP and [port] with the port you wish to use.
cd example
php artisan serve --host=[IP] --port=[port]
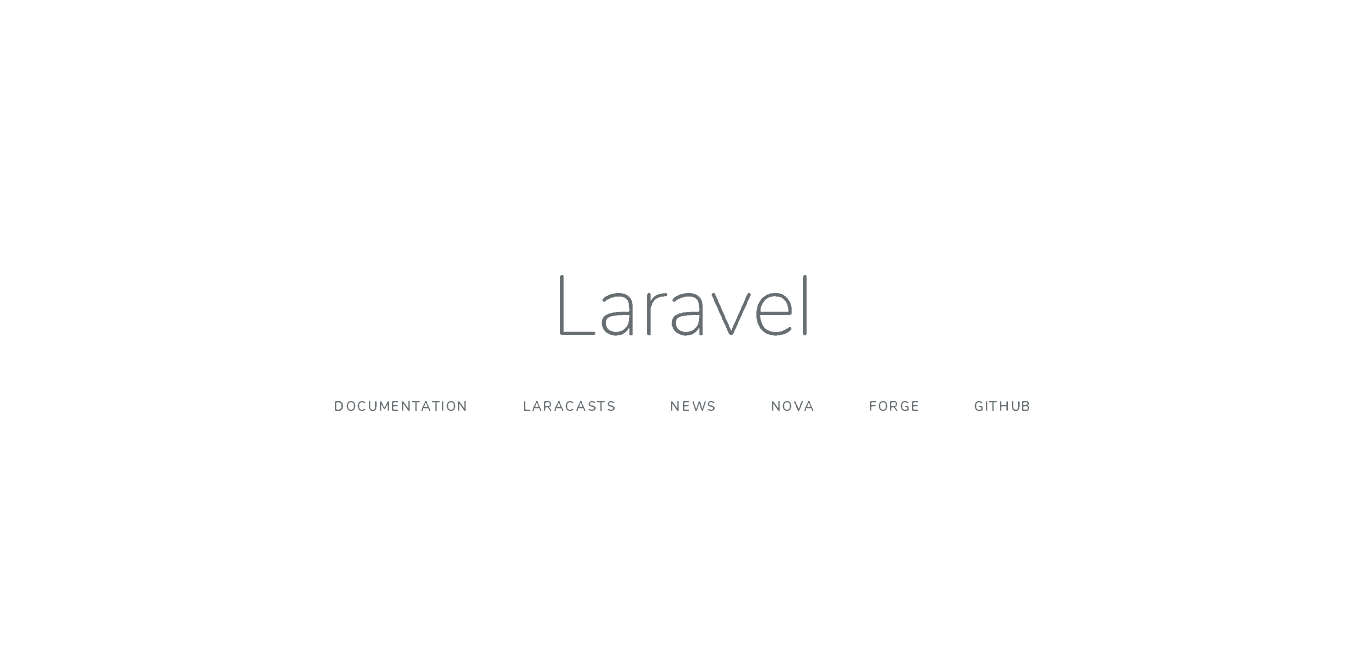
Next, open your web browser and go to the server’s IP address or domain name and the specified port. The address would look like the one displayed in the output above. If you see the screen below in your browser, you’re ready to start working with Laravel.
How to Use Laravel to Deploy an Application
On the contrary, if we are going to deploy a Laravel application on our VPS, then we have to make some adjustments to avoid problems.
First, we need to move the previously created project directory to the Apache web root. Remember, in our case, the folder name is Example. Execute the following command:
sudo mv example /var/www/html/
After that, set the necessary permissions to ensure the project runs smoothly:
sudo chgrp -R www-data /var/www/html/example/
sudo chmod -R 775 /var/www/html/example/storage
It is necessary to create a new virtual host for the project. It can be done easily with the commands below:
cd /etc/apache2/sites-available
sudo nano laravel_project.conf
Add the following to create the new Virtual host. Remember to replace thedomain.com with your server’s IP address.
<VirtualHost *:80>
   ServerName thedomain.com
   ServerAdmin webmaster@thedomain.com
   DocumentRoot /var/www/html/example/public

   <Directory /var/www/html/example>
       AllowOverride All
   </Directory>
   ErrorLog ${APACHE_LOG_DIR}/error.log
   CustomLog ${APACHE_LOG_DIR}/access.log combined
</VirtualHost>
Save the file and close it.
After that, disable the default configuration file of the virtual hosts in Apache with this command:
sudo a2dissite 000-default.conf
Afterwards, enable the new virtual host:
sudo a2ensite laravel_project
Enable the Apache rewrite module, and finally, restart the Apache service:
sudo a2enmod rewrite
sudo systemctl restart apache2
Now, open the web browser and go to the server’s IP. If you get the same Laravel landing screen you have seen last time, you’re ready to start working.
Now we can get to work with this great PHP framework.
How to Uninstall Laravel and Composer
To uninstall Laravel we only have to delete the folder of the generated project. In the case – the Composer, the following command will be enough:
sudo rm /usr/local/bin/composer
That’s it. Laravel is removed from your VPS.

Conclusion
To develop quality web applications, you need a feature-rich PHP framework. Laravel is one of them. Here you learned how to install it on a computer or server with Ubuntu 22.04.
Remember, it’s a good idea to consult the official documentation, if you want more information or if you want to learn more about the project.


Comments
May 01 2020
Thanks a Ton Brotha. Love from India
July 09 2020
Thanks a lot!
February 26 2022
Thank You so much. Very useful and great article. Keep it up
March 01 2022
Happy to hear you found it useful!
September 05 2022
just loaded index page . and every page given 404 error (laravel in ubuntu 20 vps)
September 09 2022
Hi there, We would suggest checking out this forum for a resolution for getting 404 errors in Laravel on Ubuntu ?
November 19 2023
Hi! I got The site is not working A(z) cannot currently handle this request. HTTP ERROR 500 Error, what I need to do? I followed all steps in that tutorial.. I guess thats a permission problem but I don't find it.. Any help? :)
November 24 2023
Hi there! To resolve this, first, re-run the chmod command [sudo chmod -R 775 /var/www/html/example/storage] to ensure the permissions are set properly. Second, Increase the memory limit in php.ini. If both don't work, I'd recommend you check the Apache log and enable debugging in Laravel to get more detailed insights ? I hope this helps!
October 01 2024
In this tutorial for "2024" you use php 7, meanwhile php8 is the latest and should be used...
October 11 2024
Thanks for pointing that out! I've passed this along to our team to update the PHP version in the tutorial. We appreciate your input!