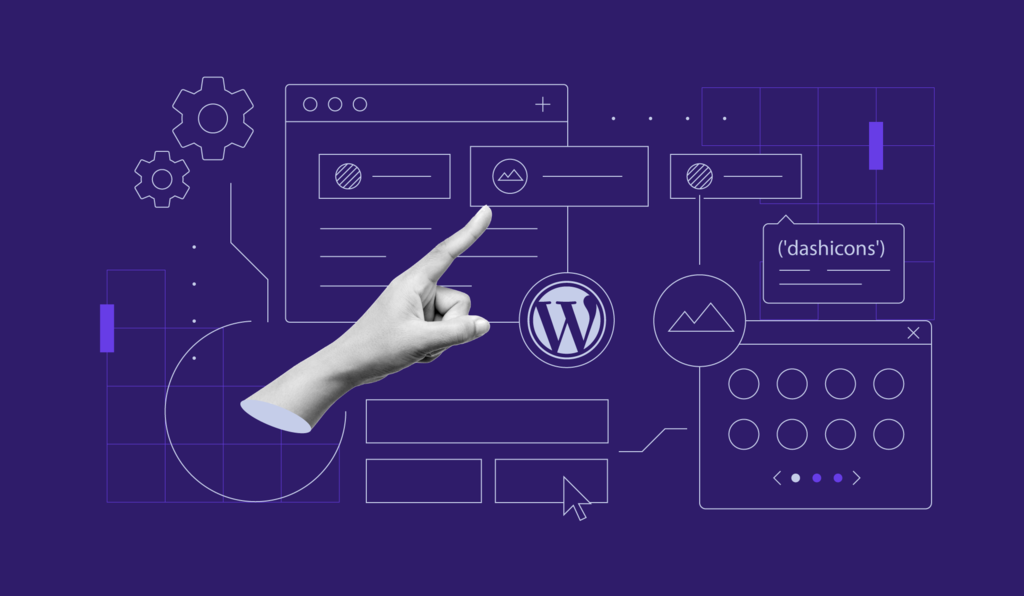
How to Use and Display WordPress Dashicons to Make Your Theme Stand Out
One of the easiest ways to change your WordPress website’s appearance is by changing its theme. However, searching for the right theme can take a long time, so changing it frequently to freshen up your site isn’t the most efficient solution.
This is where WordPress Dashicons can come in handy.
Dashicons are the official WordPress font icons available from version 3.8. They’re scalable, lightweight, and customizable using CSS. For this reason, you can use Dashicons without affecting your site’s page load speed.
Keep reading as we will show you how to enable and use Dashicons’ font icon set in your WordPress website space.
What Is WordPress Dashicons?
WordPress Dashicons is a set of font icons included in WordPress core since version 3.8. Over 300 font icons in the SVG format are ready to use without loading a third-party icon library. What’s more, these font icons are scalable and lightweight ‒ perfect for spicing up your website’s design without hurting its page speed.
How to Use and Display Dashicons in WordPress
The Dashicons library is available in your WordPress admin dashboard by default. However, you must enable Dashicons manually if you want to add icons to your theme.
In the following sections, we’ll show you how to use the Dashicons library in WordPress.
Enabling Dashicons on WordPress Site
The first step of enabling Dashicons in WordPress is to edit your theme’s functions.php file.
- Navigate to Appearance → Theme File Editor on your WordPress admin area.

- Open the functions.php file.

- Add the following code snippet at the bottom of the Functions file:
add_action( 'wp_enqueue_scripts', 'load_dashicons_front_end' );
function load_dashicons_front_end() {
wp_enqueue_style( 'dashicons' );
}
- Once done, select Update File. You can now use Dashicons on the front end of your WordPress site.
Pro Tip
Make sure to add the code to your child theme to prevent future theme updates from reverting the changes.
Finding Dashicon HTML and CSS Codes
After enabling Dashicons for your site’s front end, you can add icons to posts, pages, or parts of your theme.
Follow the steps below to add Dashicons to the menu items.
- Access the Dashicons icon library on the WordPress Developer Resources. Click on your chosen icon, hit the Copy HTML link, and copy the Dashicons HTML code from the popup window.
- Go to Appearance → Menus from your WordPress dashboard. Click on the menu item to expand the dropdown menu and paste the HTML code into the Navigation Label textbox before the text.
- Click Save Menu. Follow these steps for other menu items you want to modify.
Besides CSS code, Dashicons also provide its font icons’ HTML code and Glyph character to streamline your website-building process. Use the filter function to find a specific font icon and copy the appropriate code anywhere within your WordPress website using a text editor.
For instance, copy the CSS code to add an icon font to the style.css file. You can use a custom CSS editor to modify your CSS file if you don’t like what the Theme File Editor offers.
Here are some different ways to use Dashicons in WordPress:
- In post meta, such as in front of post titles.
- On the plugin settings.
- As part of posts and pages’ content.
- Inside or in front of a Gutenberg block.

Creating Custom Icons With Dashicons
The Dashicons project stopped accepting icon requests in 2020. Therefore, the only way to create a custom icon is by modifying it using CSS code.
Here’s an example of a code snippet to resize and change the color of a Dashicons. Place it in your style.css file and make sure the CSS selector targets your chosen element for this method to work.
.dashicons {
font-size: 50px;
width: 50px;
height: 50px;
color: blue;
}
Adding Dashicons to WordPress Custom Post Types
WordPress custom post types appear inside the admin menu. Like other menu items, a custom post type has an icon next to it. The only problem is that WordPress assigns the same icon as Posts by default.
Adding Dashicons to your custom post types can solve this issue and make your admin dashboard more pleasing. If you develop custom plugins, you can assign different icons to help retain users’ attention and improve their readability.
You can either manually embed a menu icon into your custom post type menu or do so by using a plugin. For this tutorial, we will show you how to do it using the Custom Post Type UI plugin:

- Open the Edit Post Types tab and select the custom post type you want to modify from the dropdown menu. If you haven’t created one yet, do so via the Add New Post Type tab.

- Scroll down until you see the Menu Icon section. Click Choose dashicons and pick an icon that fits the custom post type. If you already have an image prepared, select Choose image icon to import it from your media library.

- Click Save Post Type to save the changes. If the process is successful, you’ll see a confirmation message, and the icon should appear next to the custom post type.
Removing Dashicons in WordPress
The size of Dashicons’ file is only around 30 KB. While it’s not big, disabling Dashicons’ auto-loading when you don’t use it can improve your page load speed.
Add the following code snippet at the bottom of the functions.php file using the Theme File Editor. It will disable Dashicons from your website’s front end for logged-in users.
function disable_dashicon() {
	if (current_user_can( 'update_core' )) {
	    return;
	}
	wp_deregister_style('dashicons');
}
add_action( 'wp_enqueue_scripts', 'disable_dashicon' );
Conclusion
Dashicons is a useful feature that saves you the hassle of adding unnecessary images. The icons are lightweight, easy to embed, and have native WordPress support. While it’s not for front-end use, you can fix it by enabling it manually with coding.
You have learned how to display and disable Dashicons in WordPress. We hope this article answers your questions about the popular WordPress icon library and ways to leverage it properly.
Should you have any more questions, don’t hesitate to leave a comment below.
WordPress Dashicons FAQs
Take a look at the following frequently asked questions about WordPress Dashicons.
What Are Some of the Best Dashicons for WordPress?
Some of the best Dashicons for WordPress include the admin-home, admin-tools, admin-users, admin-post, admin-media, welcome-widgets-menus, and format-image icons. These icons are commonly used for various functions in the WordPress dashboard and can help improve the user experience.
Do I Need Dashicons in WordPress?
No, you do not need Dashicons in WordPress. Dashicons are great for improving the visual design and styling of your WordPress dashboard and do not affect the functionality of your site. However, removing Dashicons may affect the appearance of some plugins or themes that rely on them.
How Do I Add Custom Dashicons to WordPress?
To add custom Dashicons to WordPress, use the font-face rule in your CSS and include the custom Dashicons font file. Then, use the content property to display the custom icon using a before or after pseudo-element.
What Is the Size of Dashicons in WordPress?
The size of Dashicons in WordPress is 20px by 20px by default. However, this can be adjusted using CSS to change the font-size property or by using a custom font file with different dimensions.

Jordana is a Senior Content Writer at Hostinger with a background in Information Systems. She has over five years of experience in WordPress and is casually dabbling with PHP and MySQL. Her passion for writing and technology drives her to create tutorials for anyone wanting to build their online presence. Follow her on LinkedIn.