How to update Kali Linux: Upgrading packages to the latest version

Updating Kali Linux is important for maintaining a secure and efficient system. As a rolling release operating system, Kali Linux provides frequent updates to address vulnerabilities, improve compatibility with modern environments, and include the latest features.
By staying current, you ensure access to the most recent versions of tools and benefit from critical security patches. Conversely, neglecting updates can expose your Kali Linux system to risks and cause compatibility issues with the latest software.
In this article, you’ll learn how to update and upgrade Kali Linux safely. We’ll demonstrate the steps in a virtual private server (VPS) setup, but they are equally applicable to other environments, such as local desktop installations or virtual machines using VirtualBox.
Prerequisites
Before updating Kali Linux, make sure you have a stable internet connection. The process involves downloading packages from official repositories. Next, verify that you have administrative rights as the root user or with sudo privileges.
Also, prepare a terminal application to run the update commands. If you previously installed Kali Linux on Hostinger’s VPS, you can use our Browser terminal to execute commands directly without additional software.
To access this feature, log in to hPanel with your Hostinger account and go to VPS → Manage. On your VPS dashboard, hit the Browser terminal button. This will open a new browser tab where you can conveniently run all required commands.


How to update and upgrade Kali Linux
Here’s how to safely update your Kali Linux system to the newest version, from checking the source list file to rebooting the OS if necessary.
Pro tip
If you choose Hostinger’s Kali VPS hosting, you’ll get the latest Kali Linux version. However, it’s a good idea to check for updates, especially if you’ve installed additional tools, modified system configurations, or customized packages.
1. Check the source list file
The source list file, located at /etc/apt/sources.list, defines where the package manager fetches updates. Verifying that Kali Linux uses the correct repositories is essential, as incorrect or outdated entries can lead to errors during the update process.
To check the source list file, run the following command:
cat /etc/apt/sources.list
Make sure this line appears – it means your system uses the Kali Linux rolling release repository:
deb http://kali.download/kali kali-rolling main contrib non-free non-free-firmware

If the file is empty or contains incorrect entries, edit it using a text editor like nano:
sudo nano /etc/apt/sources.list
Paste the following content into the file:
# See https://www.kali.org/docs/general-use/kali-linux-sources-list-repositories/

deb http://kali.download/kali kali-rolling main contrib non-free non-free-firmware

# Additional line for source packages

#deb-src http://kali.download/kali kali-rolling main contrib non-free non-free-firmware
Once done, save the file and exit nano by pressing Ctrl + X → Y → Enter.
2. Update package lists
The next step is to fetch the latest package information from the repositories. This ensures your Kali Linux system knows all the latest updates and available software versions.
To update the package lists, execute:
sudo apt update
This command connects to the repositories defined in your source list file and downloads the updated package information. You’ll see a list of packages being checked, along with their current status, such as how many are available for upgrade:

3. Upgrade the system
Now, it’s time to install the latest tools, dependencies, and operating system versions. Kali Linux provides three main commands for upgrading, each serving a different purpose:
- Regular upgrade (apt upgrade). This command installs newer versions of packages already on your system without removing or replacing any existing packages:
sudo apt upgrade -y
- Full upgrade (apt full-upgrade). Recommended for Kali Linux, this one upgrades all packages while intelligently handling changes in dependencies. It may add or remove packages to keep your system fully functional:
sudo apt full-upgrade -y
- Distribution upgrade (apt dist-upgrade). Although similar to apt full-upgrade, it focuses more on upgrading to a newer distribution release. This command is typically used during major OS version updates:
sudo apt dist-upgrade
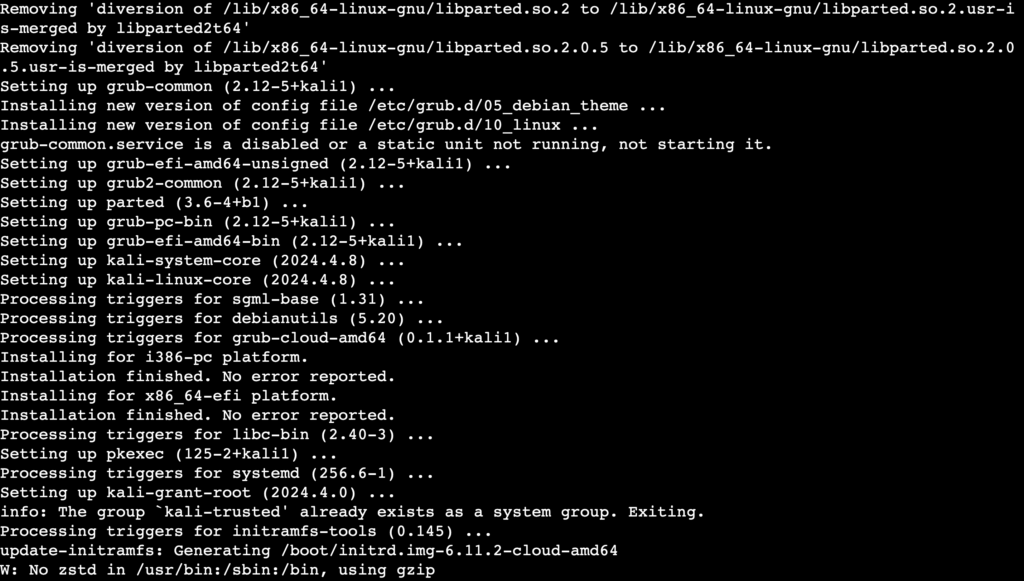
For this tutorial, we’ll use the apt full-upgrade command. When executed, you should see an output listing the packages being installed, updated, or removed during the process:
Pro tip
Instead of running the update and upgrade commands separately, you can save time by combining them into one:
sudo apt update && sudo apt full-upgrade -y
4. Remove unnecessary packages
After upgrading Kali Linux, it’s a good idea to clean up unnecessary or obsolete packages because they can accumulate over time and consume valuable disk space.
To remove these packages, run the command below:
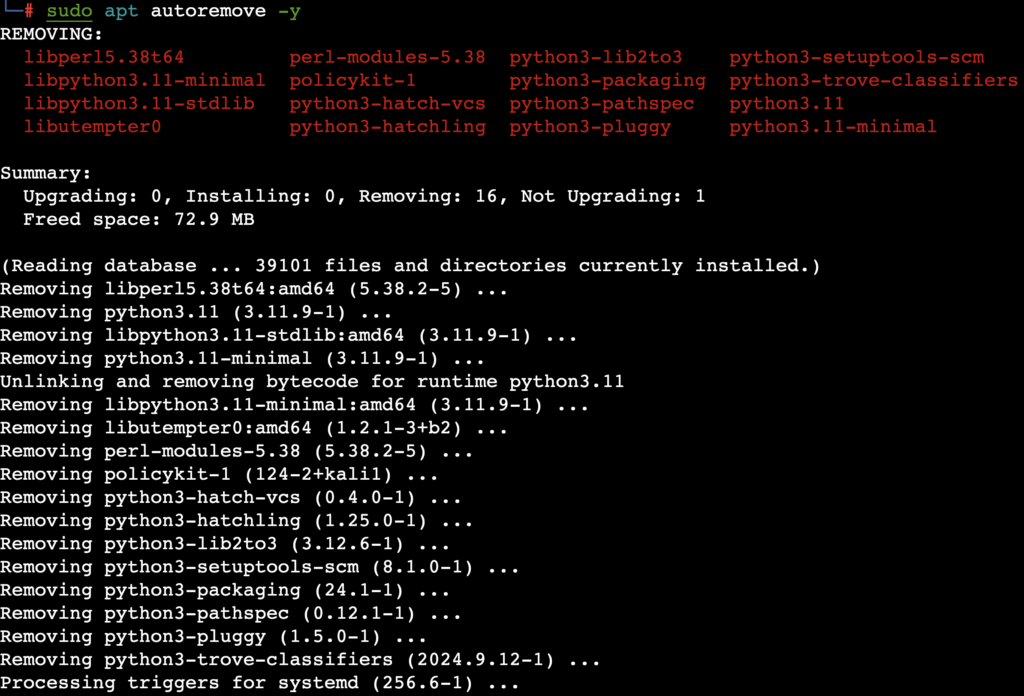
sudo apt autoremove -y
It scans for, and deletes packages no longer required by your system, such as dependencies left behind after upgrading installed packages.
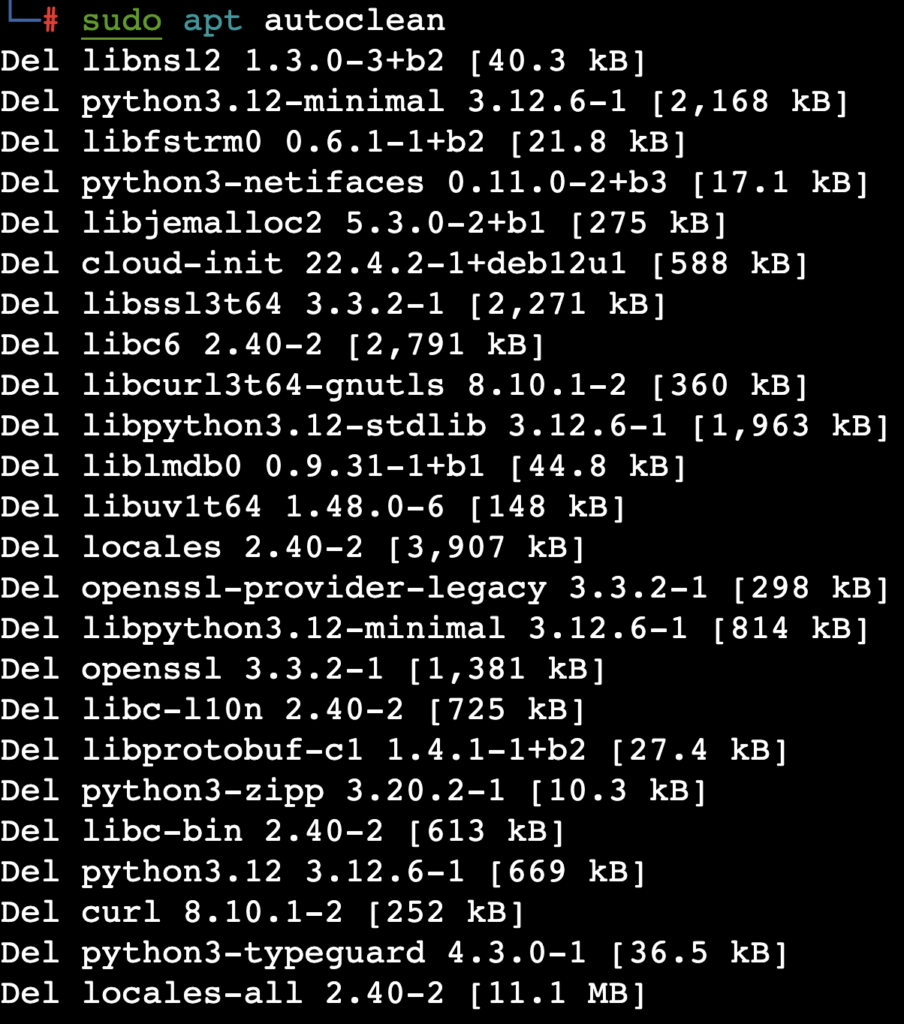
Additionally, clean up cached files from the APT package manager by executing:
sudo apt autoclean
5. Verify the update
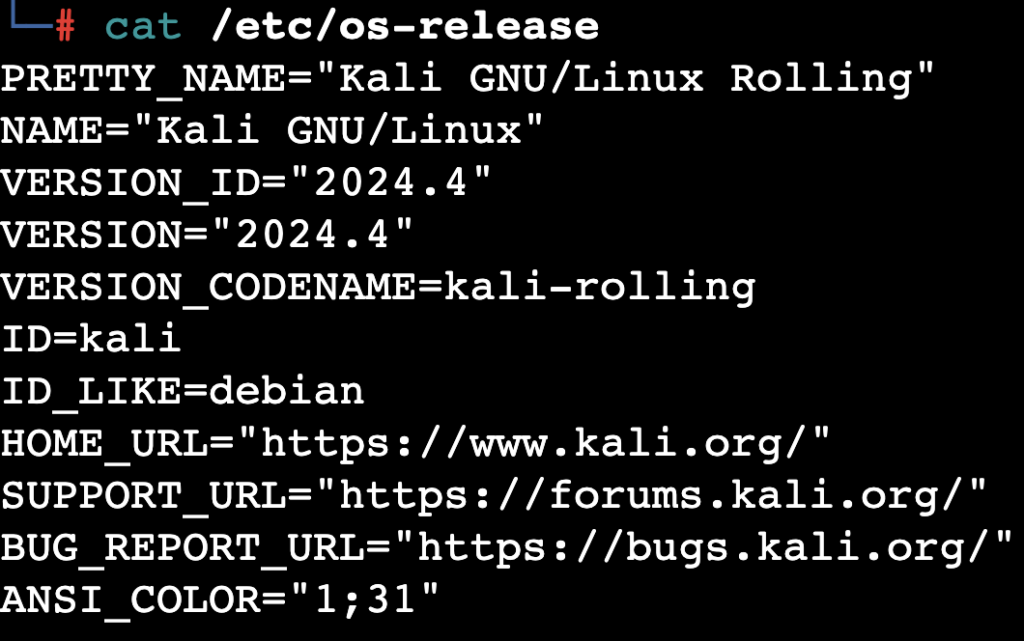
Once the upgrade is complete, check whether your system is running the latest version of Kali Linux. To verify, type:
cat /etc/os-release
This command displays information about your operating system, including the version and release details. Check that the version matches the latest Kali Linux release.
For Hostinger users, you can also check your VPS’ operating system version without commands using the Kodee AI assistant. To access this tool, open hPanel and click Manage on your VPS. Navigate to the sidebar and select Kodee.
Simply ask Kodee, “What version of Kali Linux is my VPS running?” and it will output the currently installed operating system version.

6. Reboot the system
This step is optional, but we suggest rebooting Kali Linux after significant updates using apt full-upgrade or apt dist-upgrade. This ensures all changes are applied, and your system runs the latest configurations.
Here’s the command to restart your system:
sudo reboot
Alternatively, for Hostinger VPS customers, you can reboot Kali Linux directly via hPanel. From your VPS dashboard, click Reboot VPS and wait for it to complete within two minutes.

Suggested reading
Check our Kali Linux tutorial to fully explore the features and capabilities of this security-focused OS.
Conclusion
Regularly updating Kali Linux is essential for maintaining a secure, stable, and efficient system. By keeping your system up to date, you ensure access to the latest tools, features, and critical security patches.
Following this guide, you’ve learned how to check repositories, update package lists, upgrade the system, and clean up unnecessary files. To maintain your system efficiently, monitor for new releases regularly and reboot after major upgrades when necessary.
This practice keeps your Kali Linux environment optimized and reliable for long-term use.
How to update Kali Linux FAQ
Why should I update Kali Linux?
Updating Kali Linux ensures your system remains secure, stable, and equipped with the latest features. Regular updates provide important security patches and address vulnerabilities, maintaining optimal performance for security-related tasks.
How often should I update Kali Linux?
You should update Kali Linux at least once a week or whenever new updates are released. For critical tasks, check for updates before starting, especially if you’ve added new tools or modified system configurations.
How do I check my current Kali Linux version?
To check your current version, run the cat /etc/os-release command in your terminal. This shows details about your Kali Linux version and release so you can verify if it’s up to date.
